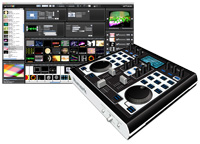
Instead of continuing to put resources in bringing into the NuVJ software some features that are already implemented in GrandVJ we have decided to focus all our efforts in improving GrandVJ more and more so that each new version gets better and the future version 2 can be as amazing as we are planning it.
Therefore, we are inviting all NuVJ users to join the GrandVJ community and we are offering them a GrandVJ license for a bargain price (approximatively -50%, depending on your currency) so they can take advantage of GrandVJ‘s eight video layers, numerous effects, visual generators, advanced compatibility with mostly any other MIDI controller and all of the other advanced features from ArKaos’ professional VJing software.
(This offer is valid until July 31, 2012 from the upgrade page on the ArKaos web site, all you need is your NuVJ software serial number)
And now, for those who already have the NuVJ controller and a GrandVJ software installed, read on for the explanation on how to make them work together (by the way, if you just want to try it out, it will also work fine with the GrandVJ demo..)
How does it works?
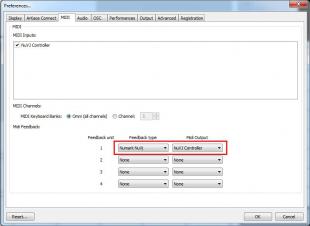
GrandVJ now features a dedicated template for the Numark NuVJ controller. As for other controllers capable of bidirectional communication with the software, the NuVJ template takes advantage of the feedback possibilities offered by the device.
Let’s get started:
- Plug your NuVJ controller in the computer with the USB cable
- Launch GrandVJ and start a new project
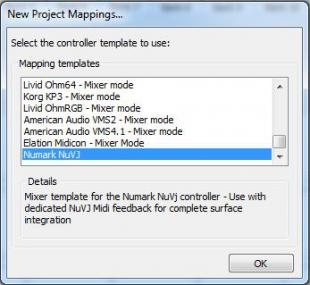
- Select “Numark NuVJ” in the template list
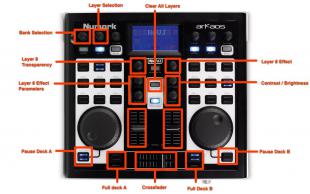
Keys from the left pad are assigned to the 9 left cells of the bank in GrandVJ, keys from the right pad are assigned to the 9 right cells of the bank. The jog wheels control the scratching for the first and the second layer.
To use GrandVJ in a NuVJ style, the clips should be assigned to the first or second layer, corresponding to the Deck A or B on the controller. This way the keys from the left pad will automatically send the clips to Deck A, and the keys from the right pad will send the clips to Deck B.
Here is how you should configure GrandVJ to get that result:
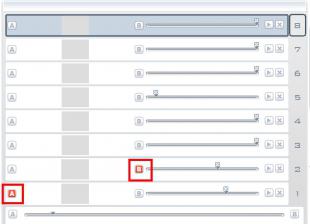
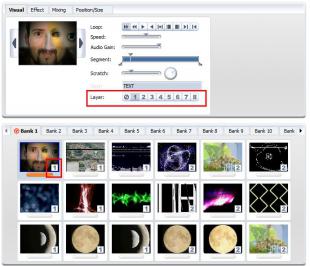
- Select each cell in the bank (right click on the cell) and change its layer assignment from the Parameters pannel. Assign the 9 cells on the to layer 1 and the 9 cells on the right to layer 2, as shown in the figure below.
- Send layer 1 to deck A and layer 2 to Deck B as shown in the figure below
And if you want to enjoy the 8 layers of GrandVJ, you can use the “Pmtr1? button on the left of the controller to select the destination layer before triggering a clip.
That’s all!


